Effortlessly add a grain layer to your website in Webflow
It's way easier than I thought...
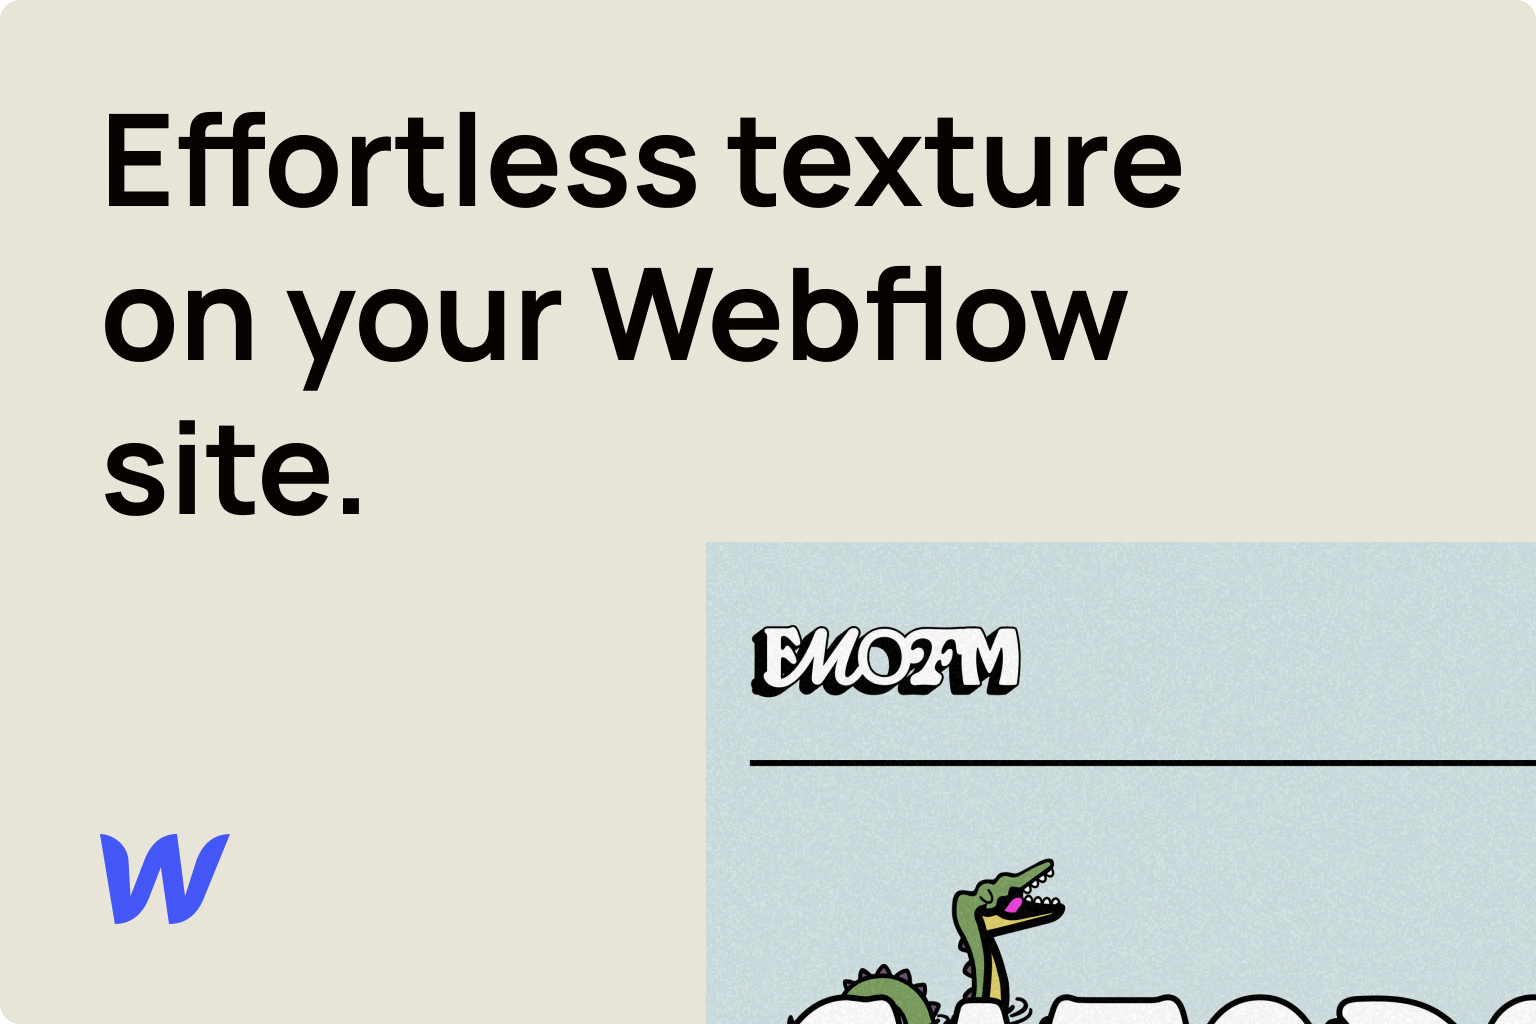
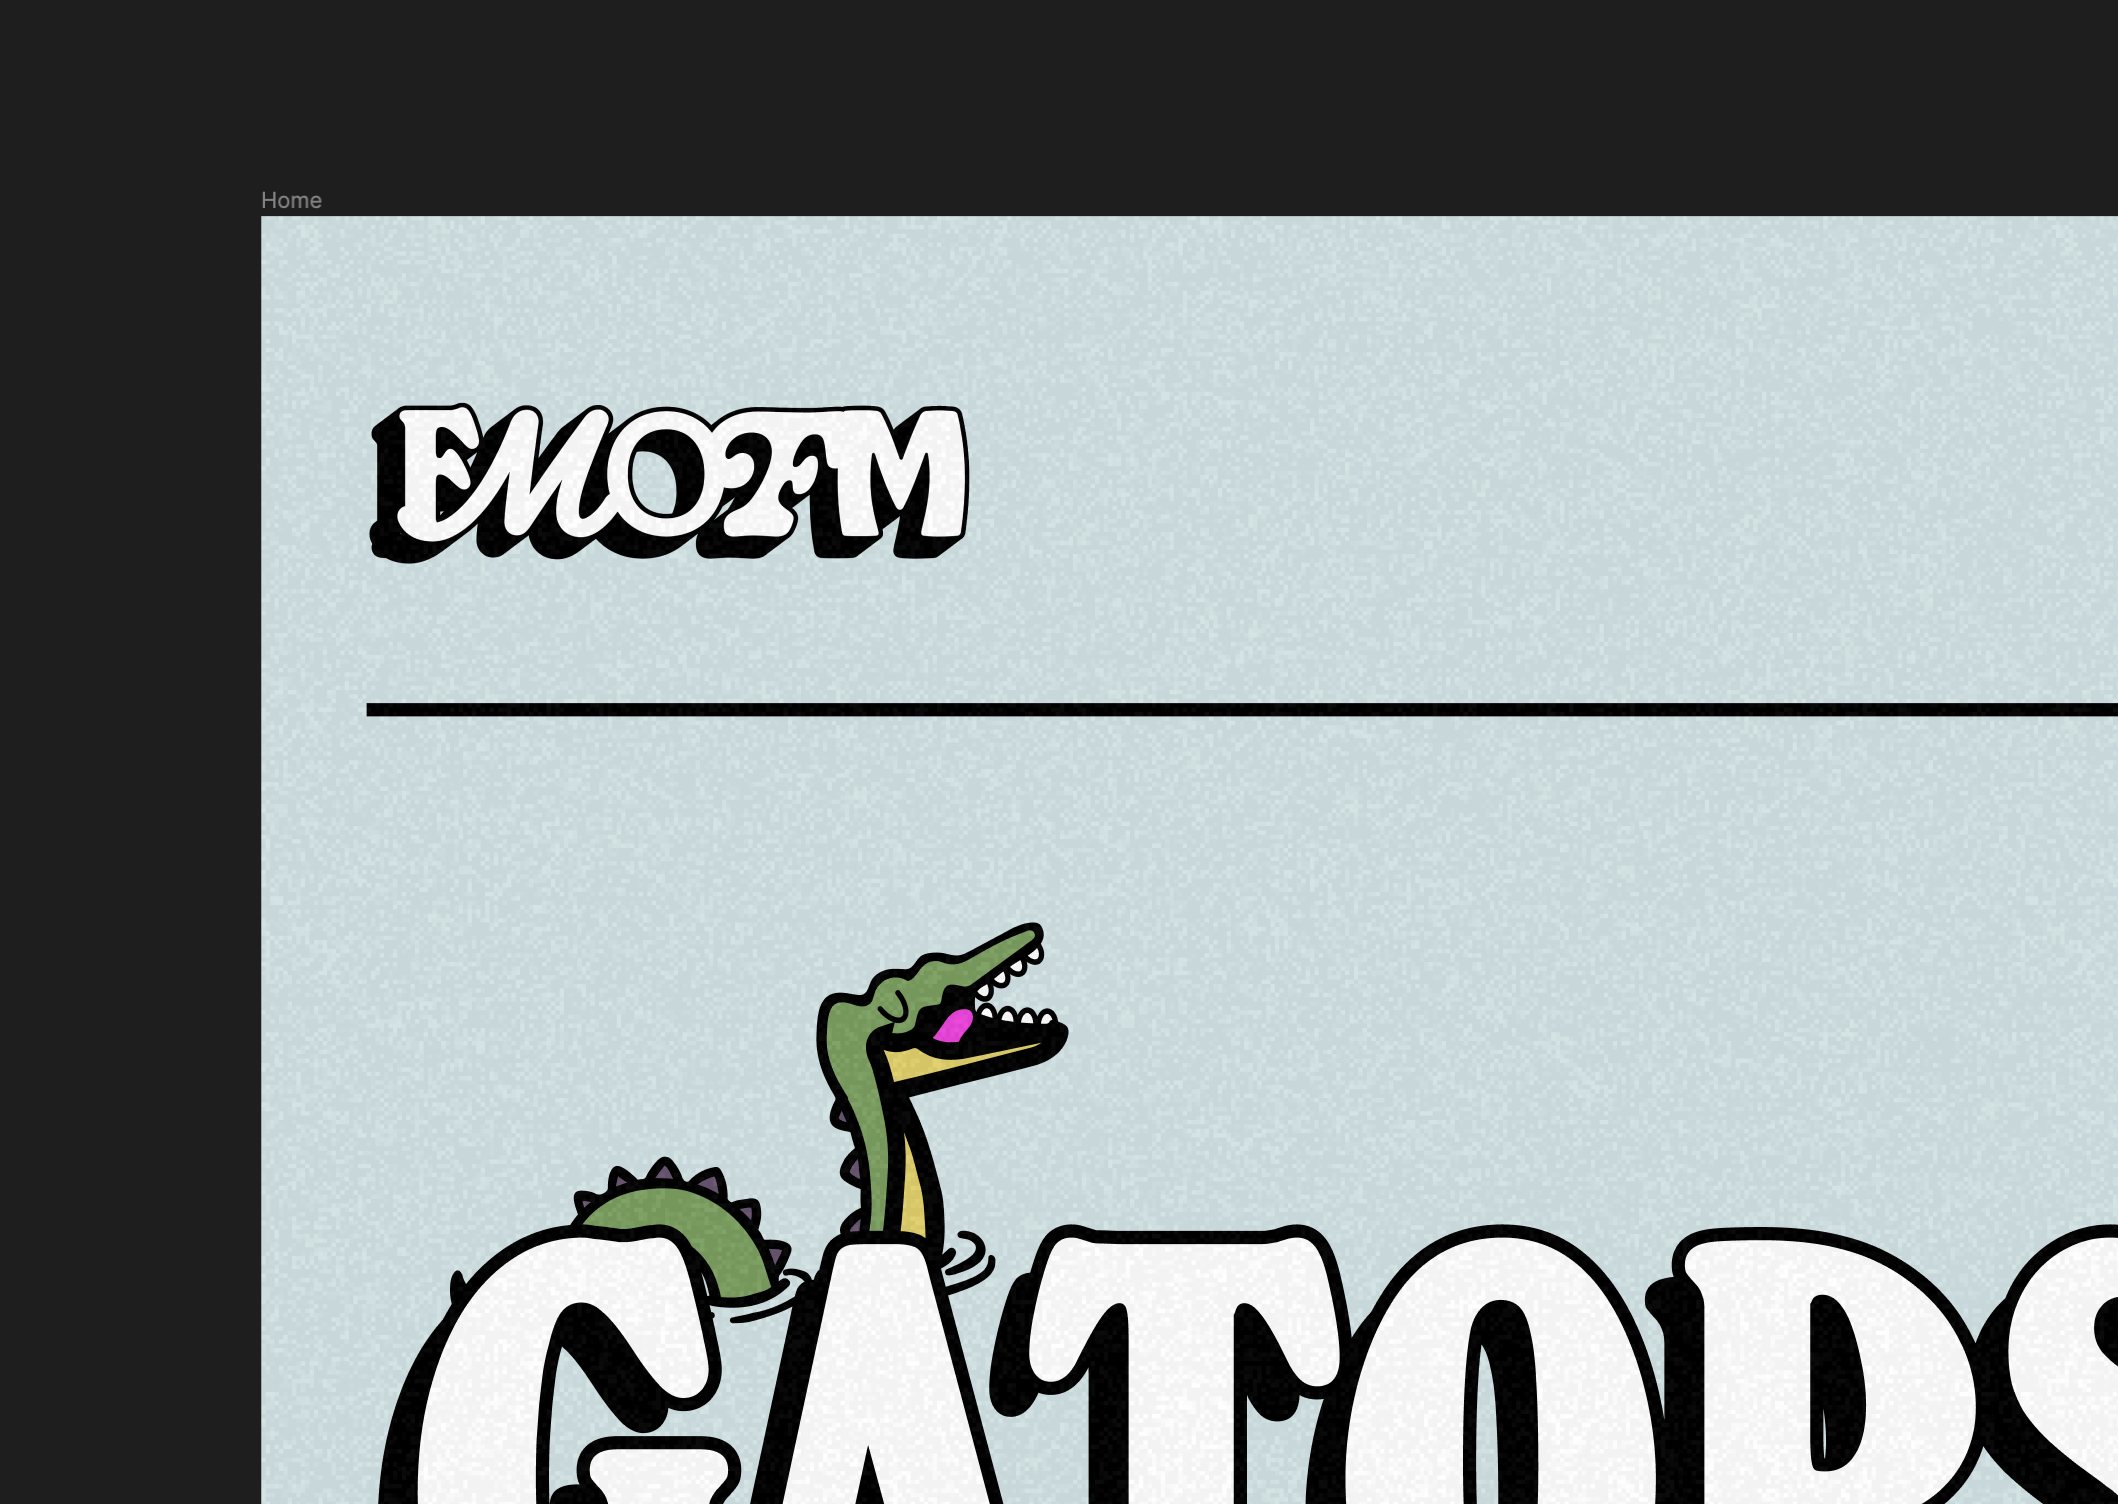
I recently designed and built a site for my favorite podcast, Florida Men on Florida Man. One segment of the show is centered around Florida news headlines, so I wanted to lean into a newspaper-like feel for the design of the website. Along with an editorial layout, I used a grain layer over the entire page to create a texture closer to paper.
My thought process:
- Design the site
- Add a noise layer on top of everything
Easy enough, right? Well, not quite…
This approach is perfectly fine in Figma, but once you pull the design over to the web, you’ll quickly notice that if you place an asset over the entire page, you won’t be able to interact with the elements underneath that asset (even if you can see through it LOL). I hit the hurdle and thought I was out of luck.
After a quick search, I found out that this is actually an extremely easy setup to accomplish. You just need to add a simple line of CSS to your grain layer.
The setup
Let’s walk through how this is set up:
- Add your grain layer asset to your Webflow project
- Give the element a class. I used
.grain-overlay - Position the element over your entire page. Here are the styles I used:

- Add this custom CSS to the
<head>of your project, targeting the grain overlay element you added:<style> /* Make sure elements below the grain overlay layer are interactable */ .grain-overlay { pointer-events: none; } </style> - Publish your site!
It’s literally as simple as that.
You should now be able to interact with every element below that grain layer, even though it is above all of the elements on the page.
Unlock Your Website's Full Potential with a Personalized Audit
Actionable insights to boost traffic, improve conversions, and grow your business.
$125 -- 7 Day Turnaround